I taped the poppy upside down (otherwise it's very difficult to manage in an upright position suspended in a window) to tracing paper and then hung in a window with natural light. There wasn't much editing to do due to the amazing natural light so all I did was rotate so flower was right way up, crop and increase contrast on the stem. This prints beautifully on textured paper.
Similar technique to 'Poppy' with more flowers and more sellotape!
This is the original, unedited shot
I transferred my original photo from LightRoom to Photoshop: Go to 'Filter' in top horizontal tool bar In drop-down menu go to 'Distort' then drop-down menu 'Zig Zag' Contrast, tones and saturation can be adjusted in 'Image' (top toolbar) I wanted to make this quite stark so I decreased contrast once I transferred it back to Lightroom.
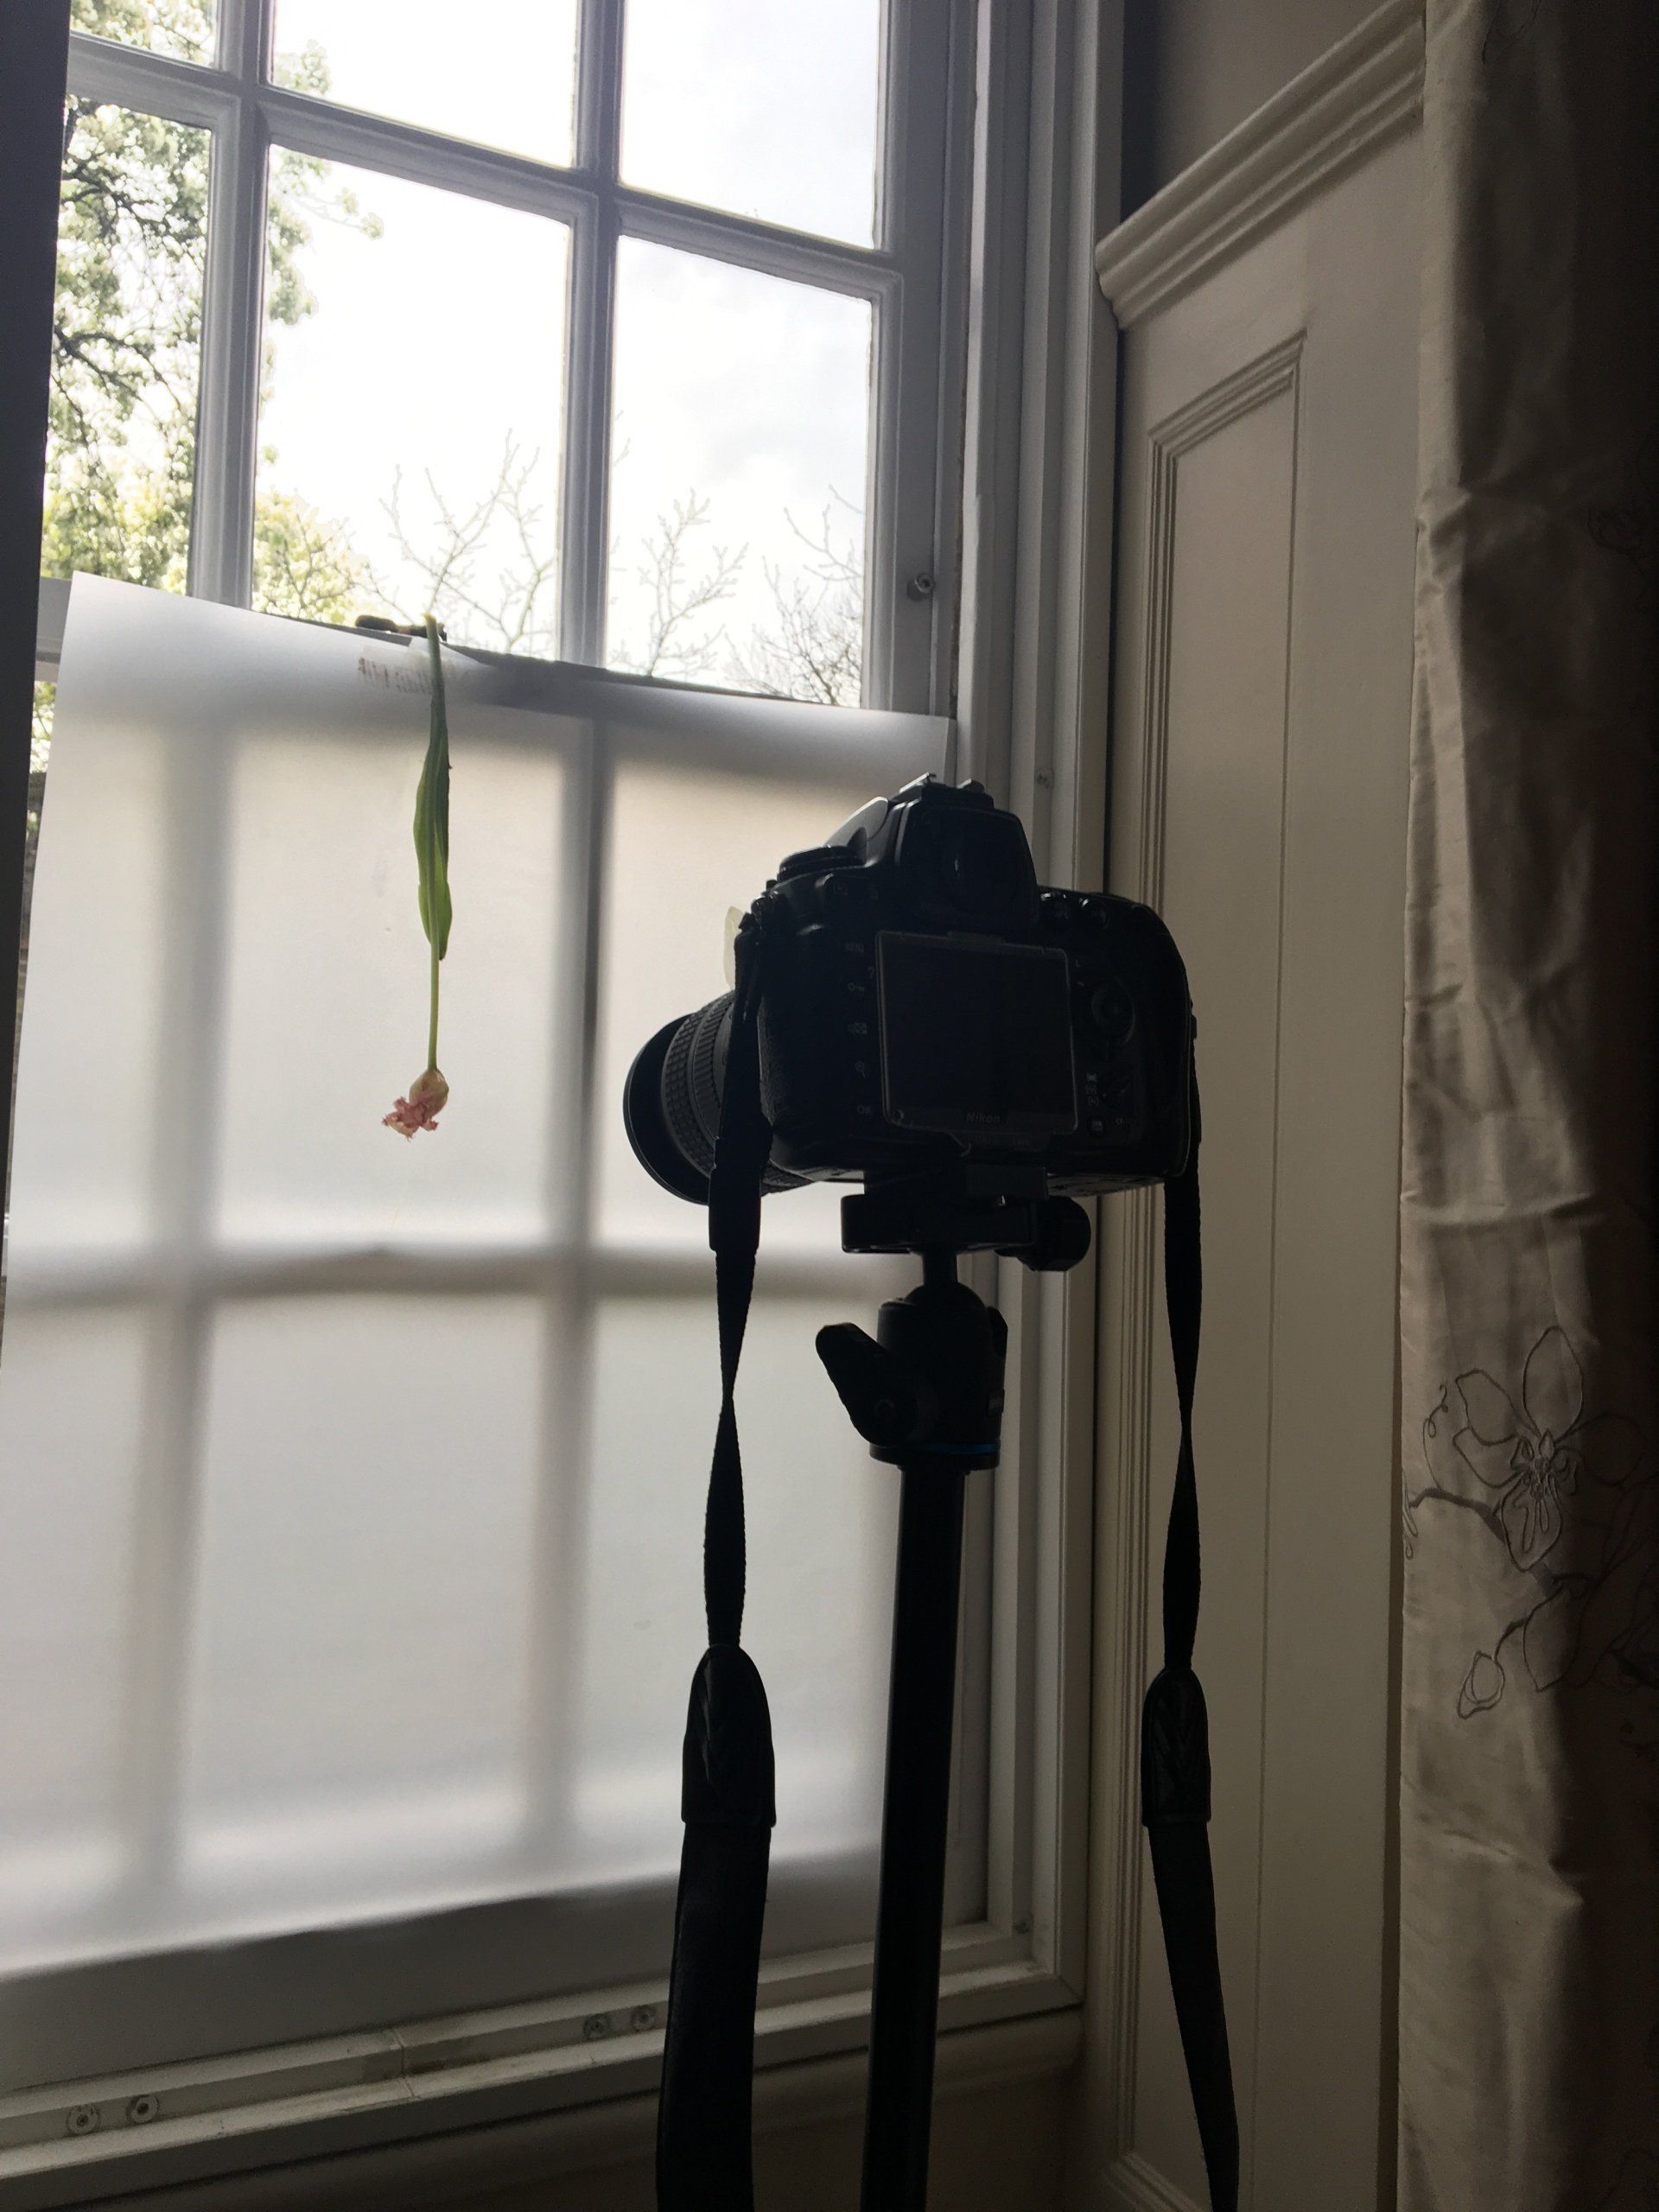
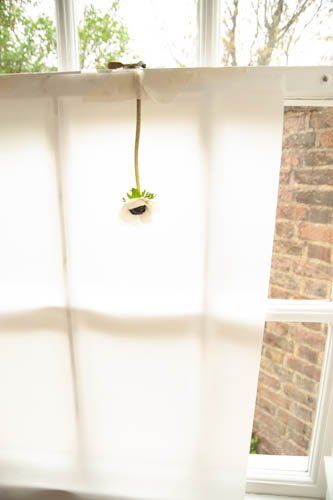
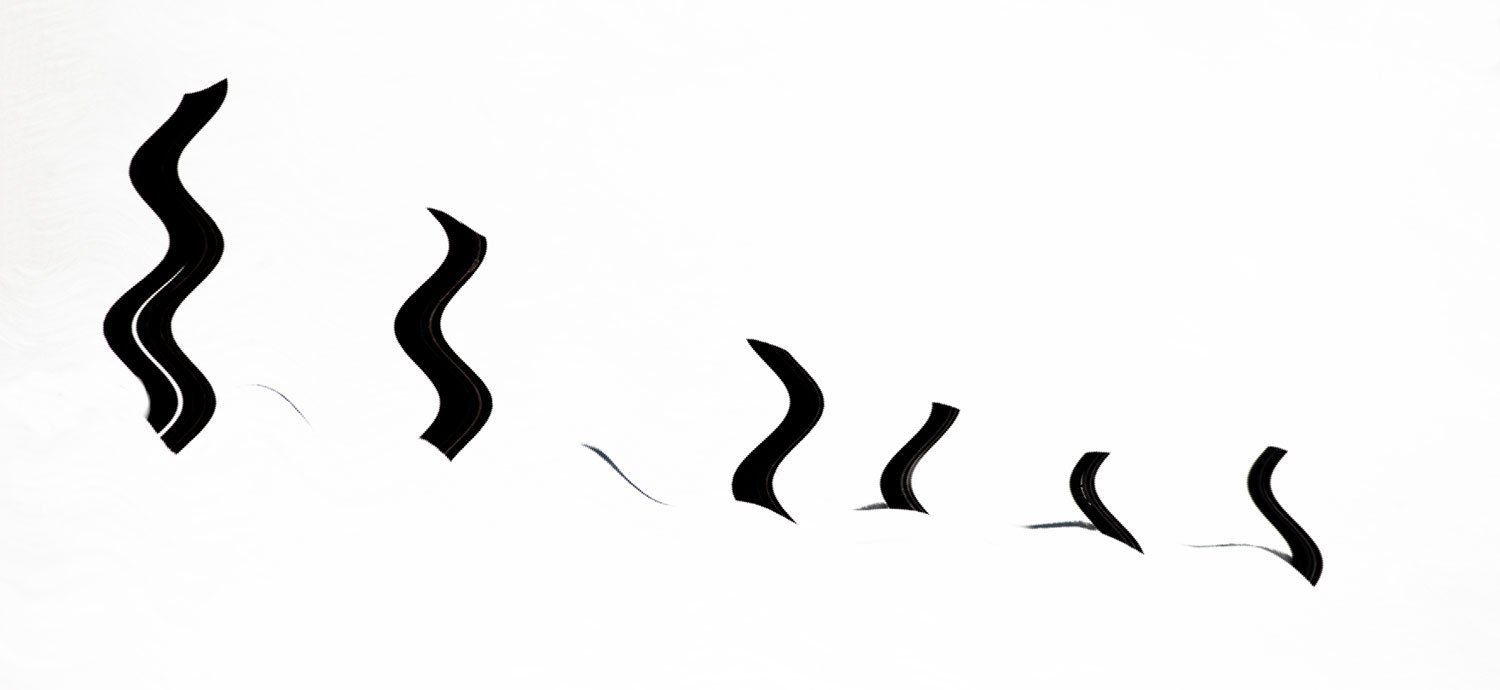
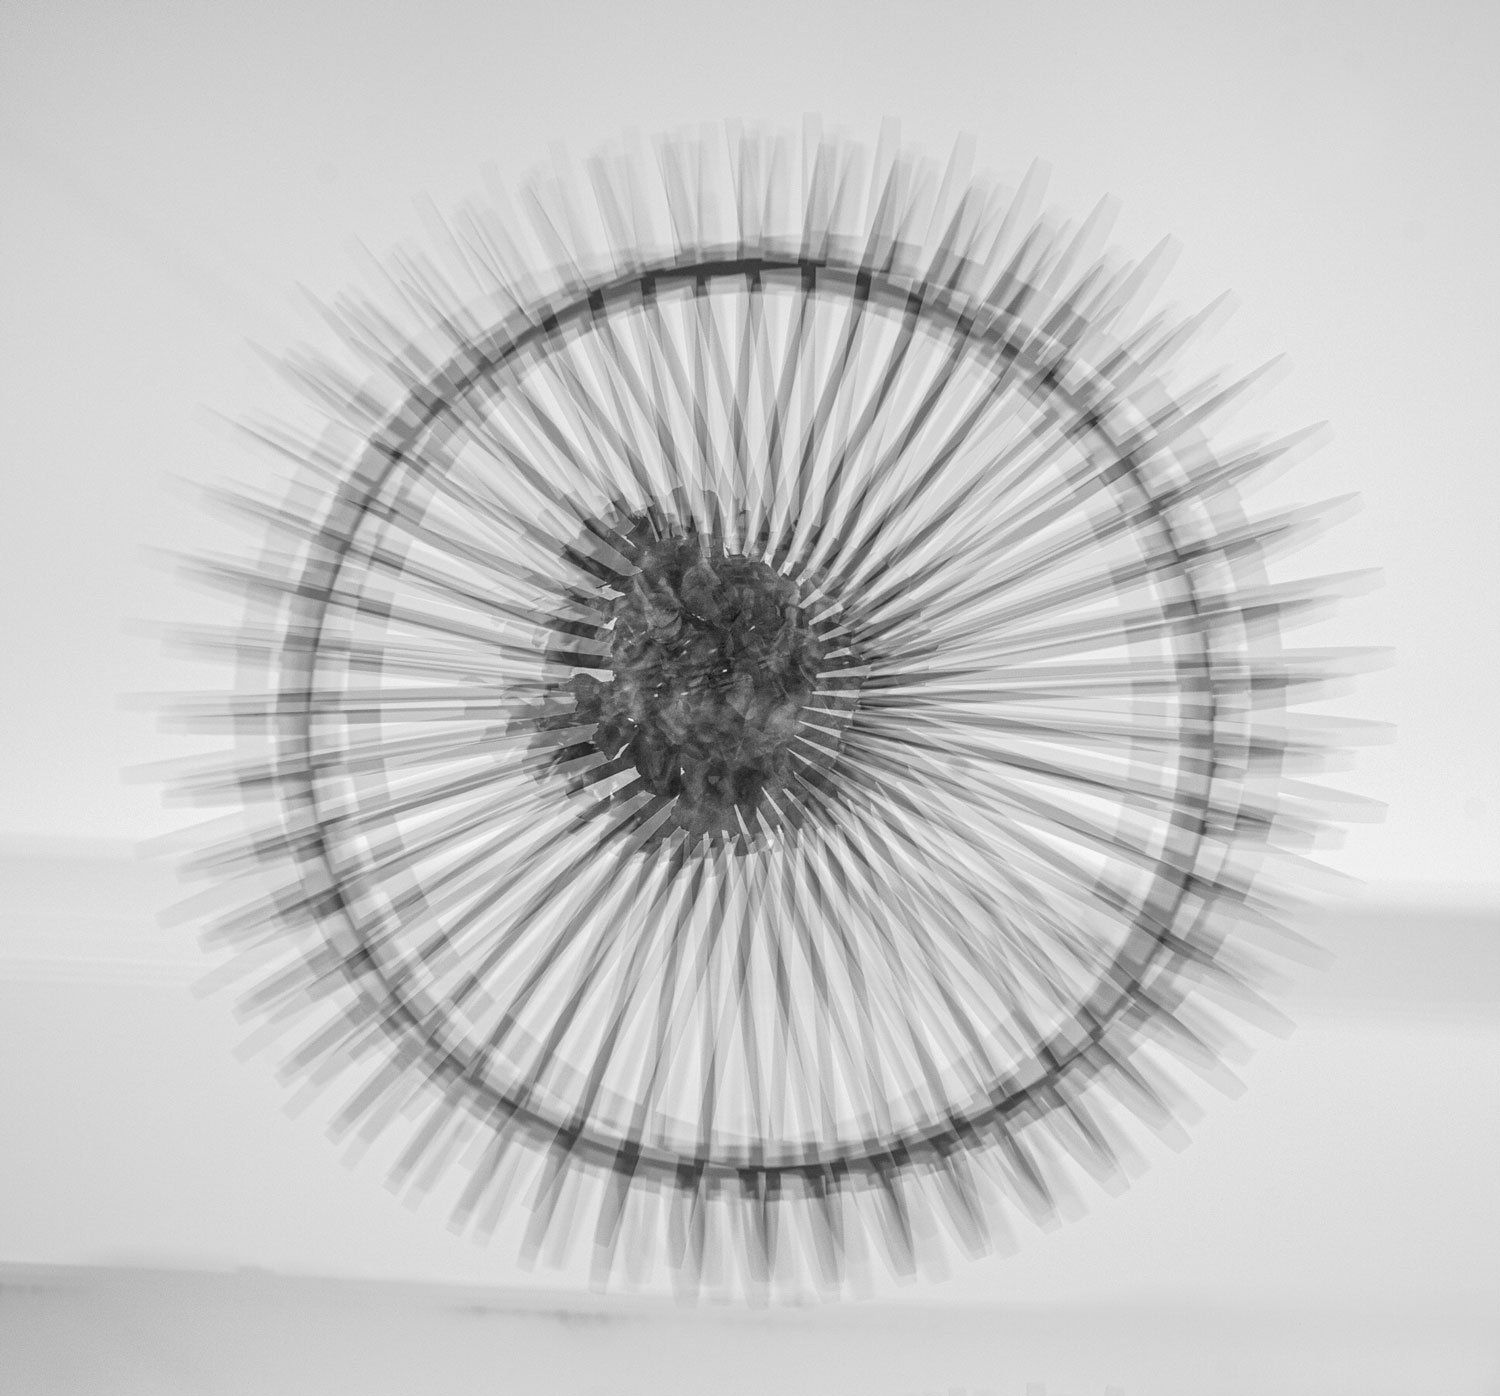
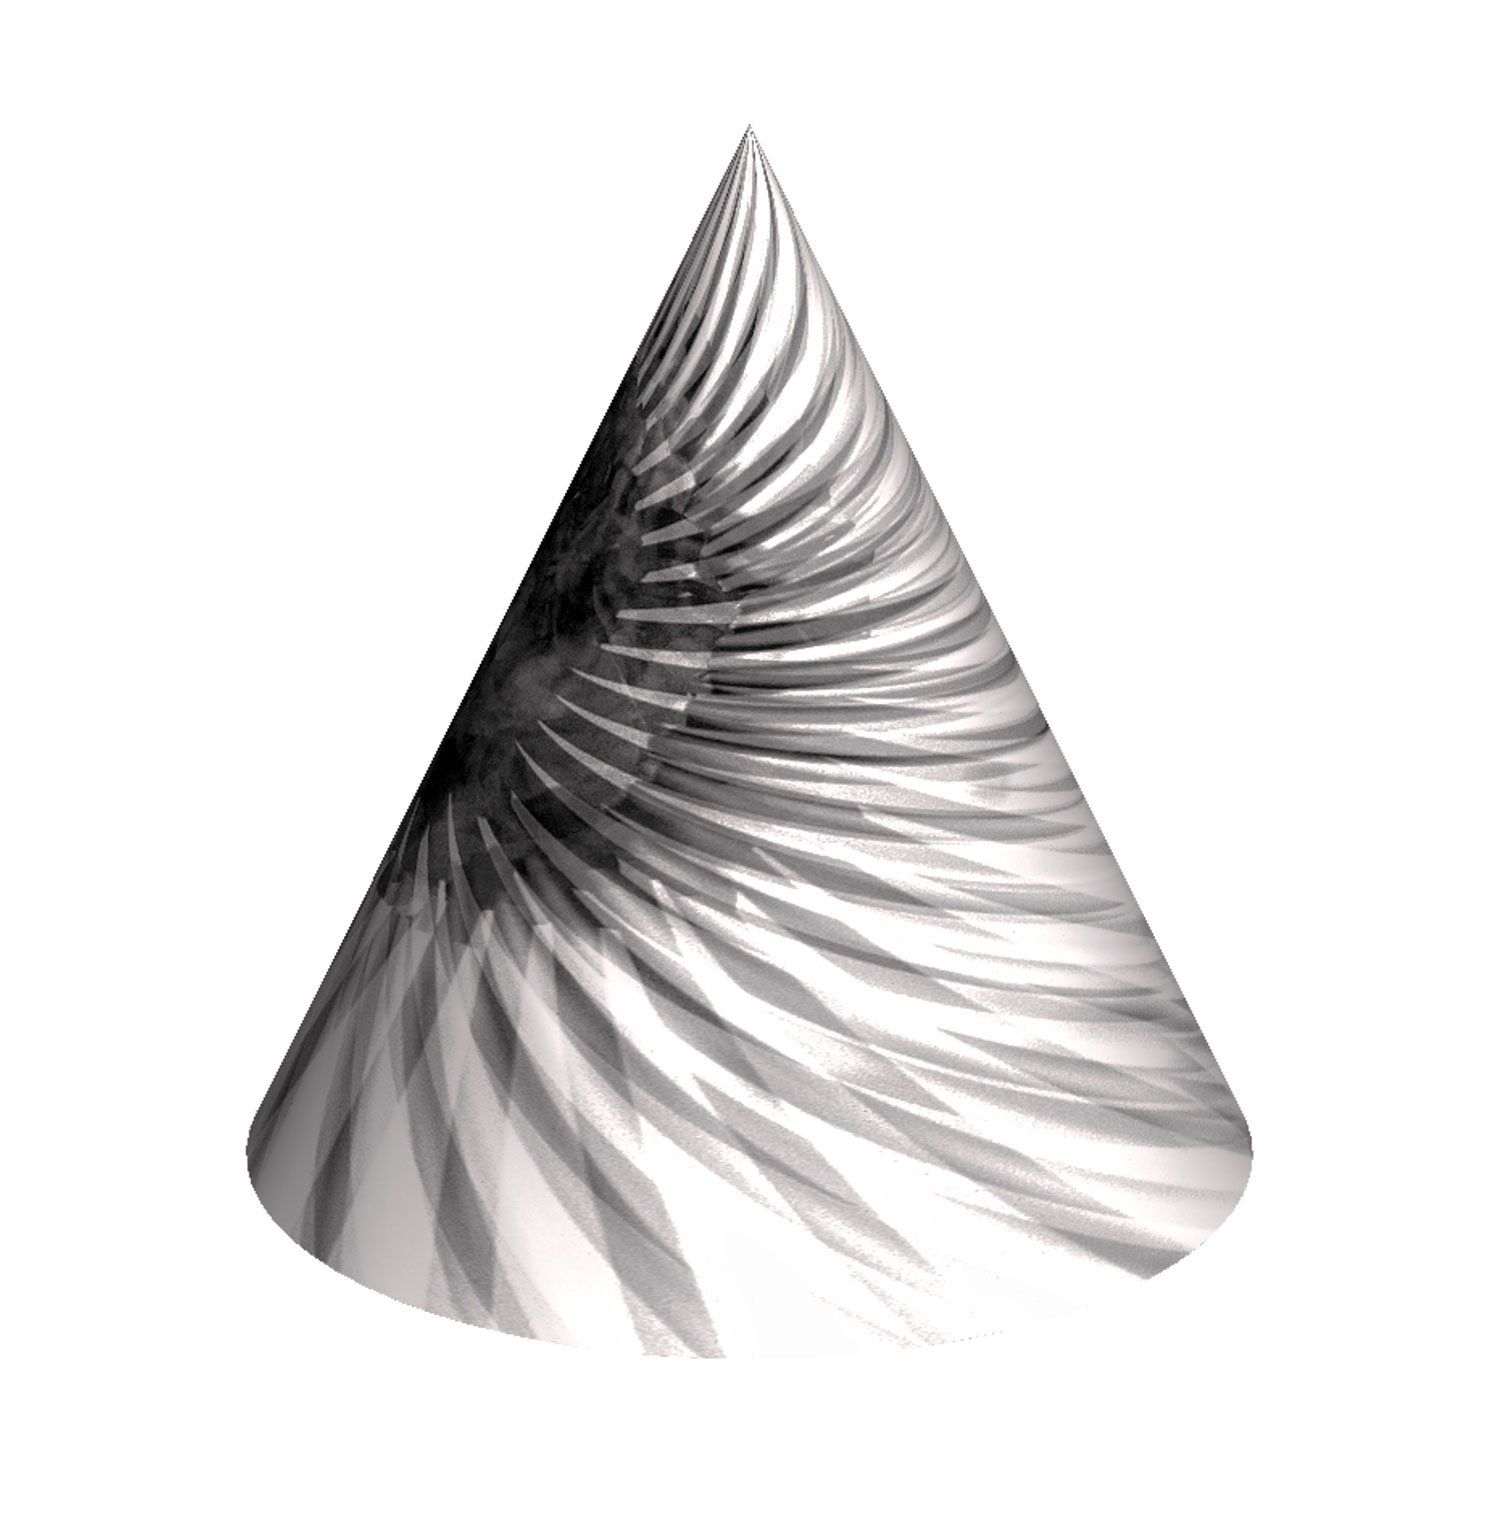
First of all I suspended a hydrangea flower in a light pendant and positioned my camera underneath. I set the camera to 6 multiple shots to create a blur. This can be done in other ways. Upload to Lightroom (but all this can be done solely using Photoshop). Crop and enhance, transfer from LightRoom to Photoshop. Go to 'Filter' in top toolbar, drop down to 'Distort', drop down again to s'pherize' (you can also experiment with 'Twirl' 'Wave' 'Zig Zag' to name a few). Just have some fun and experiment with all the features in the Filter menu and be as extreme as you want! There are also a few other features such as 'Cone' and 'Bottle which you also find in 'Filter'
I used the PS 'Cone' filter to achieve this.