MARSHALL PINSENT - AT HOME PORTFOLIO
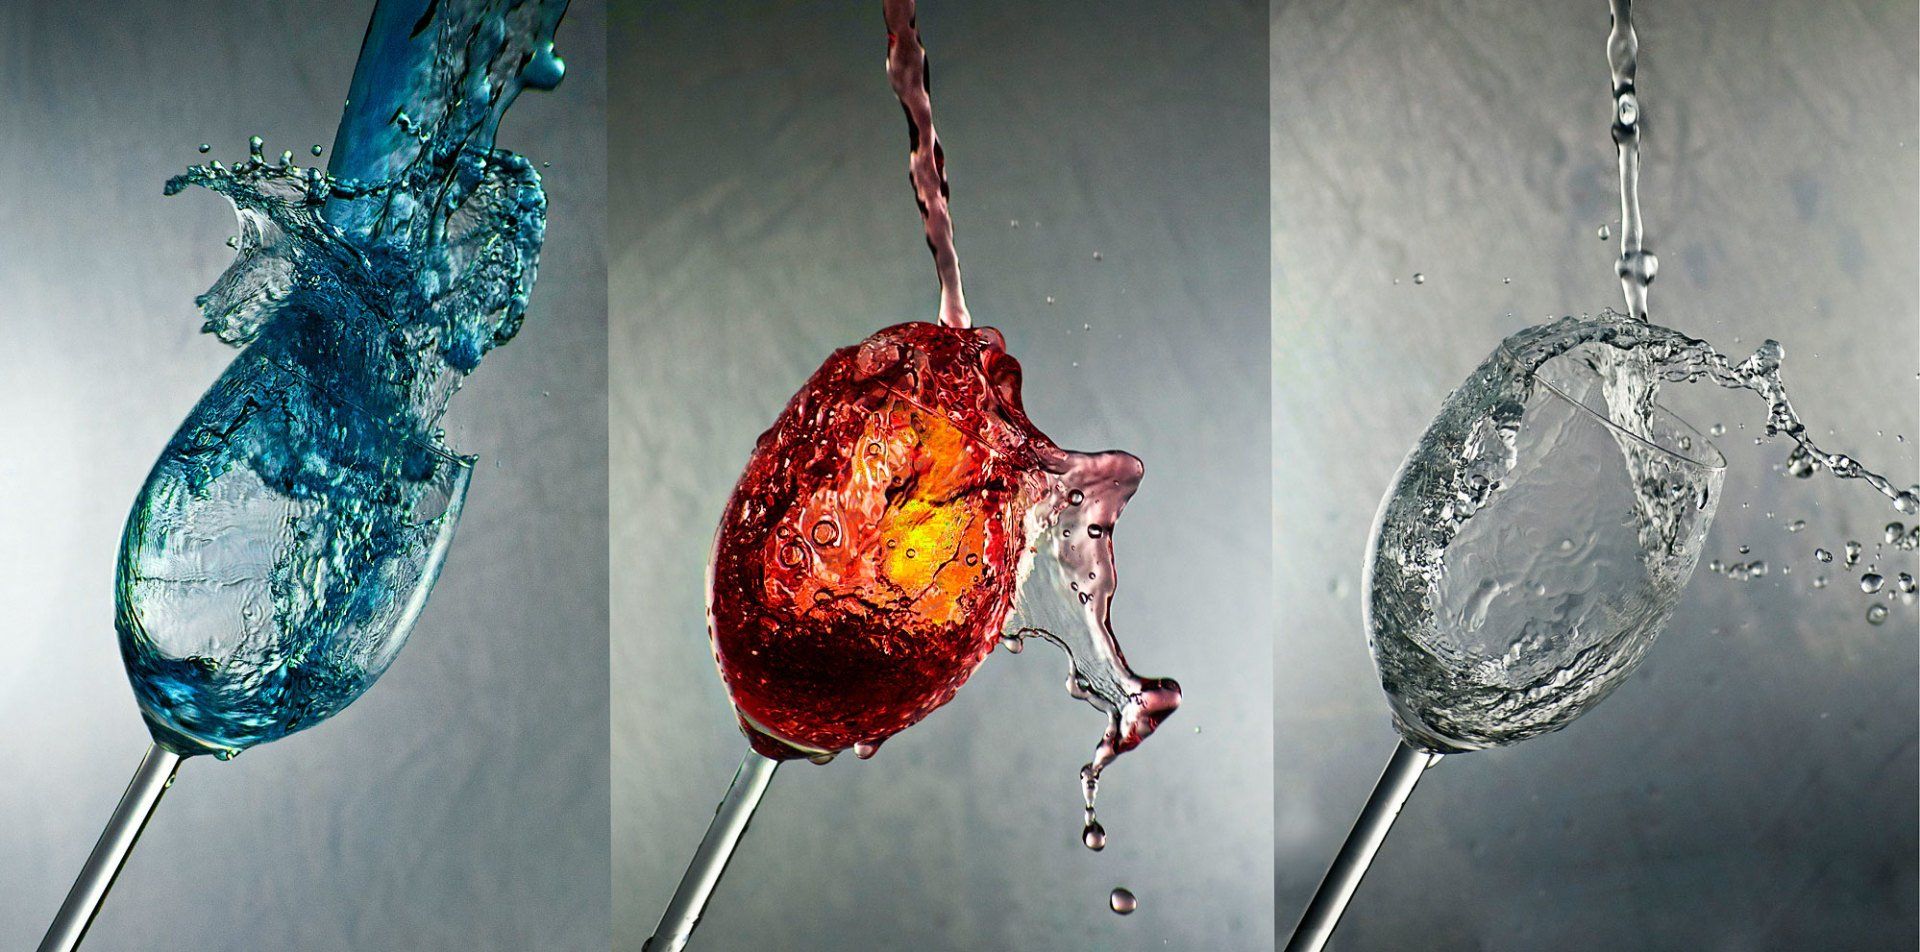
Splish, Splash, Splosh!
These were taken in my kitchen using tap water and food-colouring. The angled wine glass was taped to a board clamped to a tripod. I used a large sheet of crumpled paper for the background and the lighting was a small table lamp and an LED torch. A high ISO was needed to allow a shutter speed fast enough to ‘’Freeze' the water. The camera was fixed to a 2nd tripod. I held a long cable release in one hand and poured the water from a jug held in the other hand. I applied some sharpening in Photoshop and boosted the colour saturation.Tip: use a washing up bowl to catch the water, grow long arms and wear wellies!
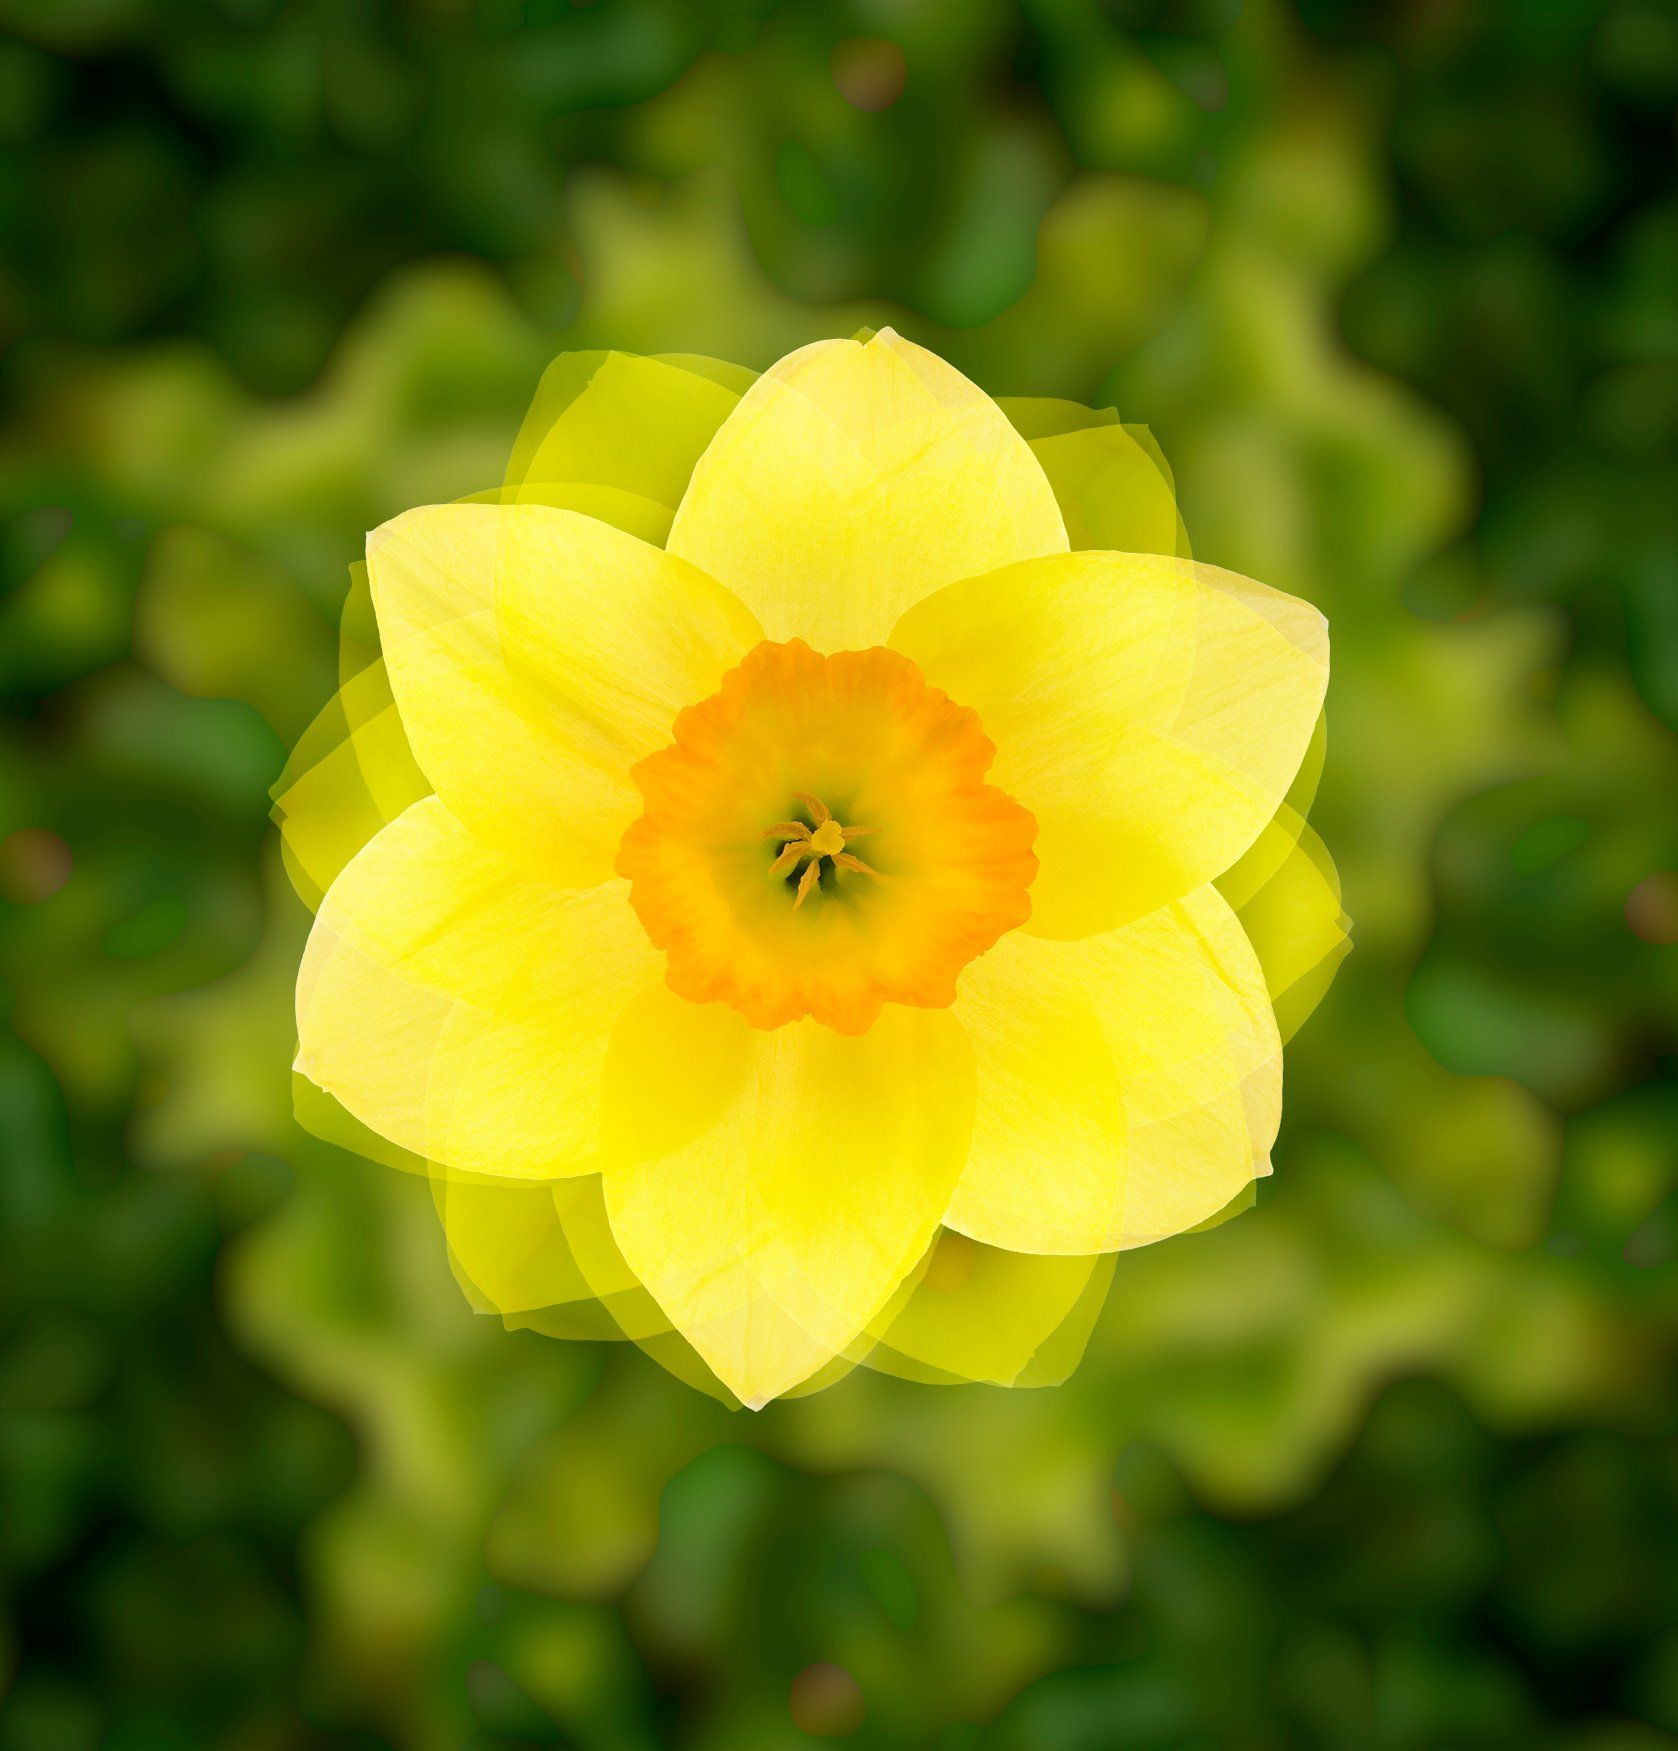
Daffodil Spin
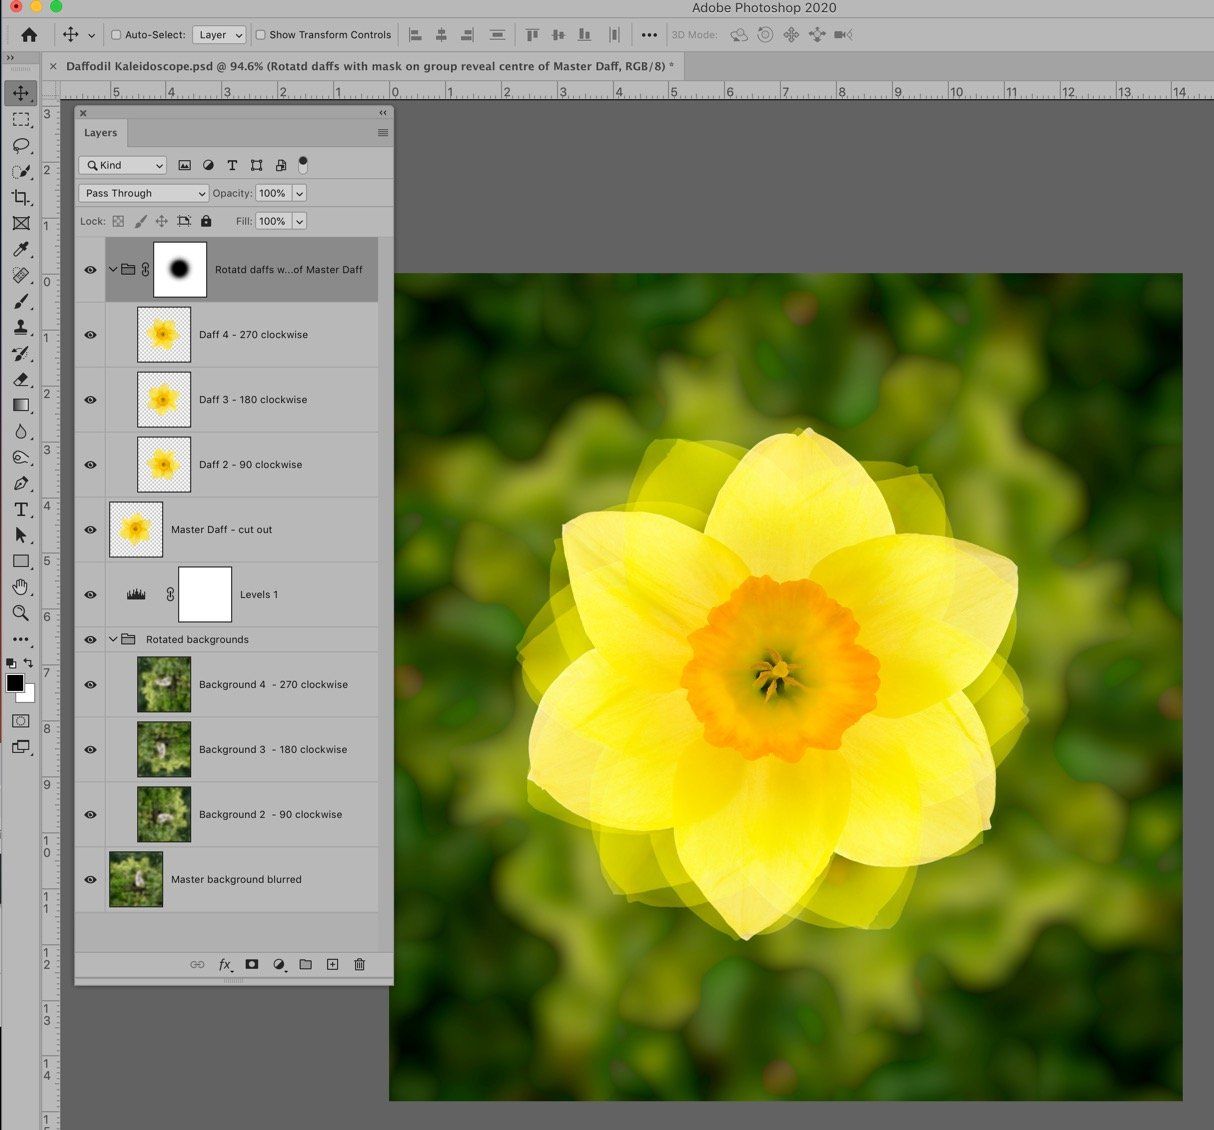
This is a fake multi-exposure based on two shots, a Daffodil and garden background. The Daffodil image was imported into Photoshop and cut-out. This layer was then duplicated and rotated 45 degrees clockwise, this action was repeated twice more making a total of 3 layers above the original layer. The blending mode of all these three layers was set to ‘Soft Light’.
The 3 top layers were then grouped and a white layer mask applied to the group (this one mask affects all the layers inside the group folder). Using a soft brush I painted a black hole in the layer mask, to reveal the sharp centre of the original daffodil layer.
For the background I imported a shot of my garden (there’s a white cat in there somewhere!) I then applied a 20% Gaussian blur. This layer was then duplicated 3 times, rotated and blended as described above. And that’s it, it’s really simpler than it sounds! The layered PS file can be downloaded to better see how it was done.
Daffodil Spin - Photoshop layers
The PS file for this can be downloaded from the Resources link.
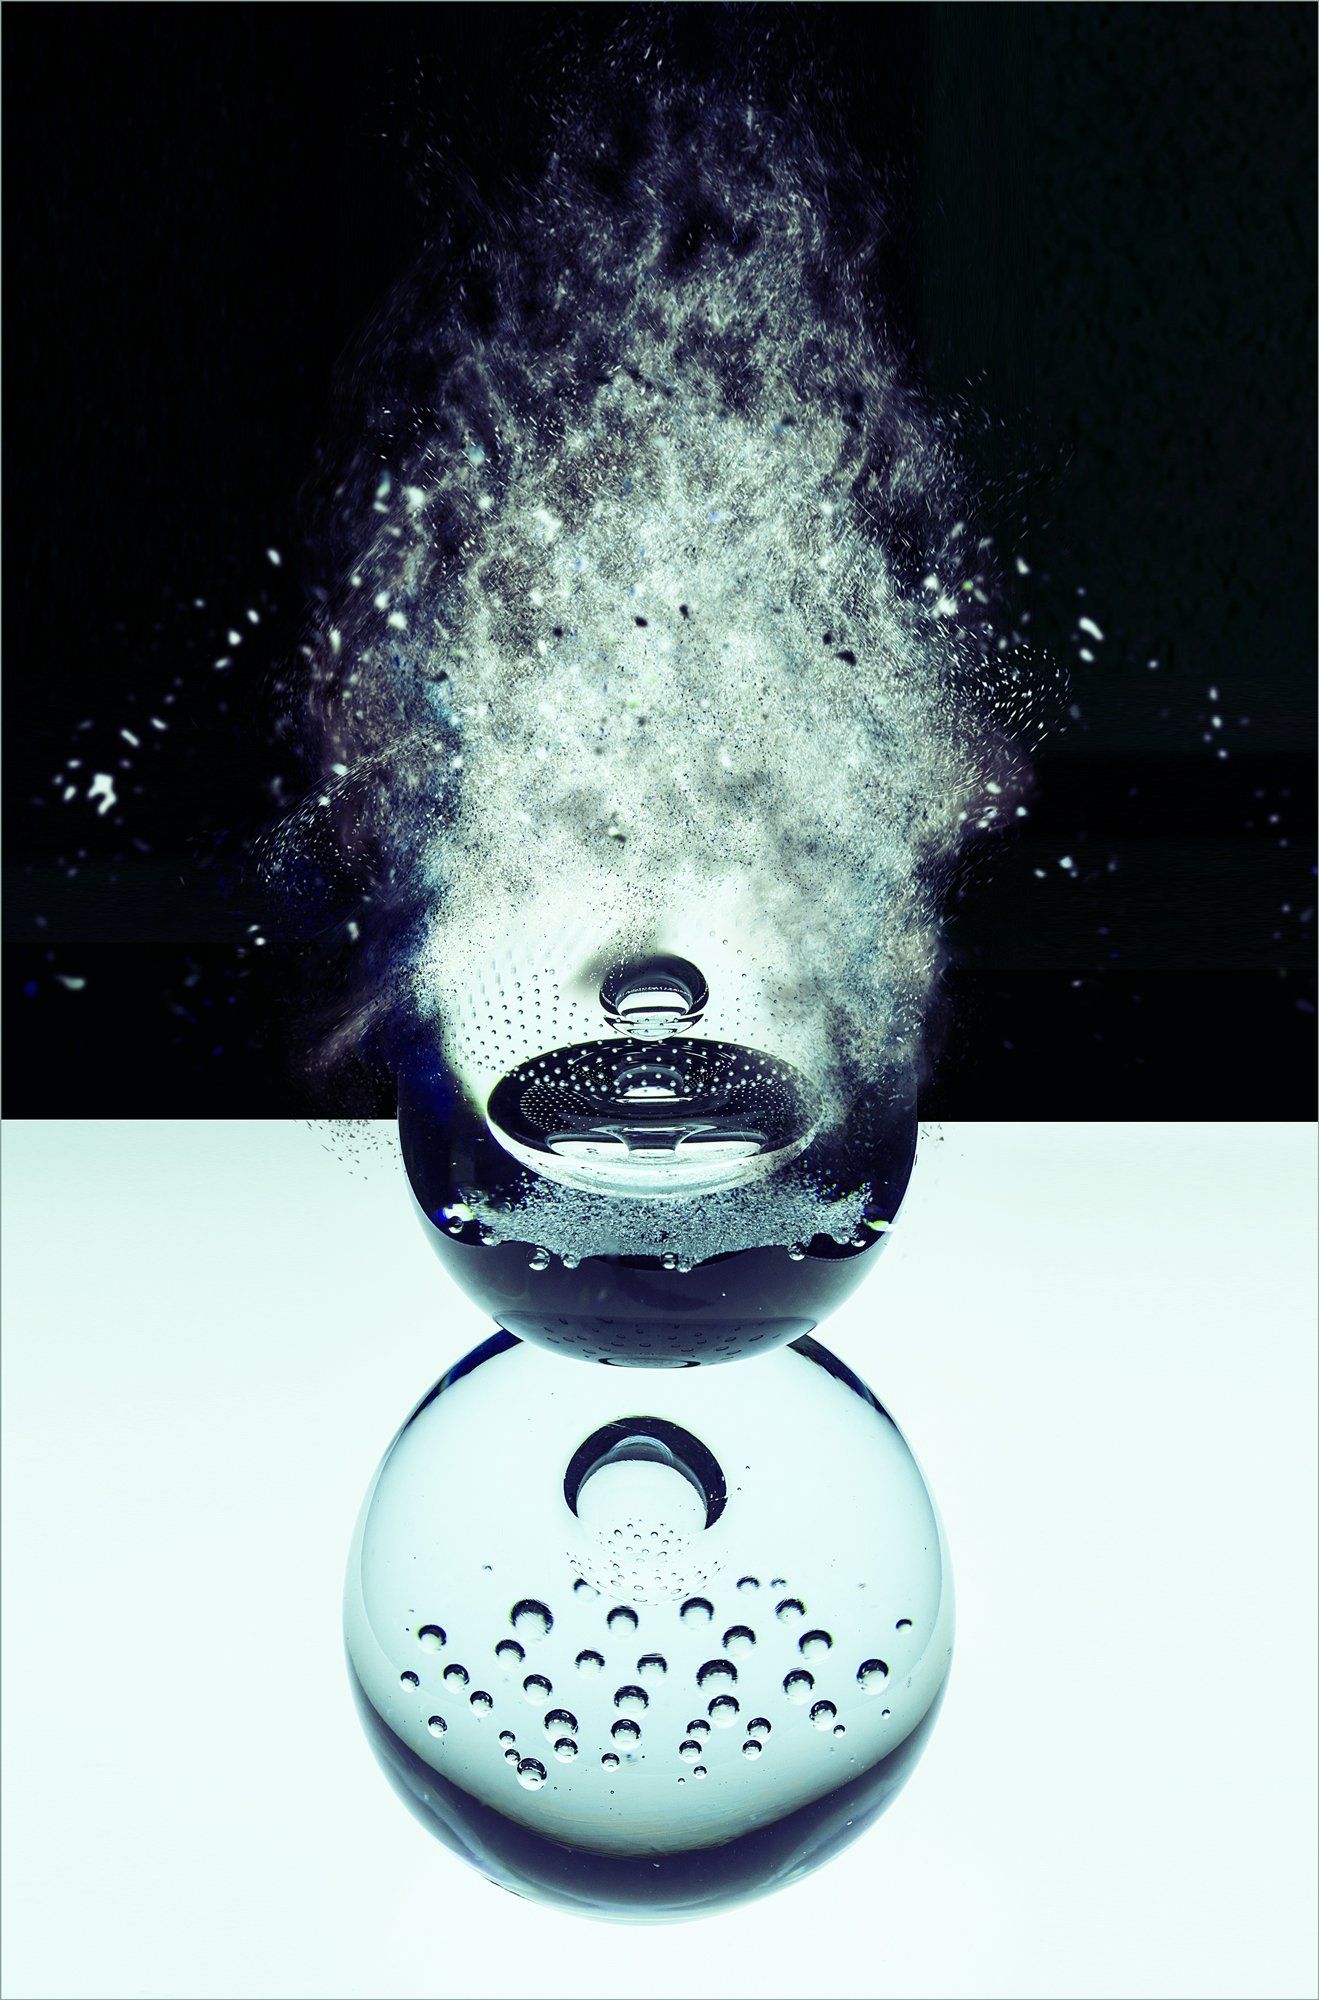
Event Horizon
This is a large glass paper-weight embedded with beautiful air-bubble patterns - pure glassmaker magic! It was shot on a sheet of shiny white PVC (lit from beneath) against black card background. The dissolving/dust effect was added in Photoshop based on a commercial Photoshop ‘Action’ called 3D Dispersion. Warning note: commercially purchased actions often don’t work properly after a PS upgrade!
A Splash of Colour
These were taken in my kitchen using tap water and food-colouring. The angled wine glass was taped to a board clamped to a tripod. I used a large sheet of crumpled paper for the background and the lighting was a small table lamp and an LED torch. A high ISO was needed to allow a shutter speed fast enough to ‘’Freeze' the water. The camera was fixed to a 2nd tripod. I held a long cable release in one hand and poured the water from a jug held in the other hand. I applied some sharpening in Photoshop and boosted the colour saturation.Tip: use a bucket to try to catch the water, have long arms and wear wellies!
———————————
Camera club beach shoot
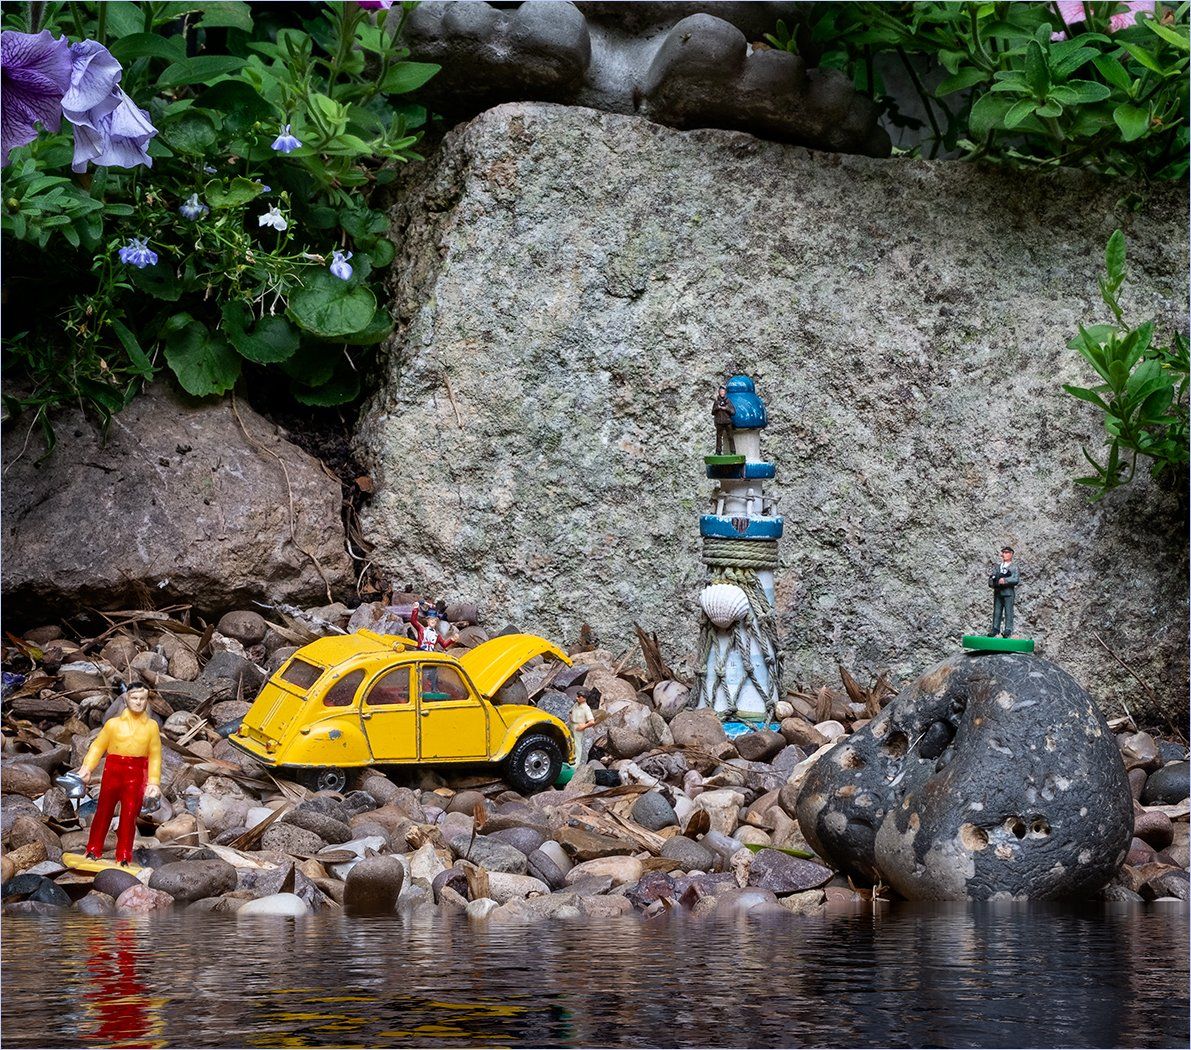
I set this up in my garden. Our first car was a 2CV like this but it was much bigger! The water was added later in Photoshop using a now discontinued ‘Flood’ filter. I’d like to thank the models - two Subbuteo press photographers and legendary England football supporter Ken Baily - very rare!
———————————
Daffodil Spin
This is a fake multi-exposure based on two shots, a Daffodil and garden background. The Daffodil image was imported into Photoshop and cut-out. This layer was then duplicated and rotated 45 degrees clockwise, this action was repeated twice more making a total of 3 layers above the original layer. The blending mode of all these three layers was set to ‘Soft Light’.
The 3 top layers were then grouped and a white layer mask applied to the group (this one mask affects all the layers inside the group folder). Using a soft brush I painted a black hole in the layer mask, to reveal the sharp centre of the original daffodil layer.
For the background I imported a shot of my garden (there’s a white cat in there somewhere!) I then applied a 20% Gaussian blur. This layer was then duplicated 3 times, rotated and blended as described above. And that’s it, it’s really simpler than it sounds! The layered PS file can be downloaded to better see how it was done.
———
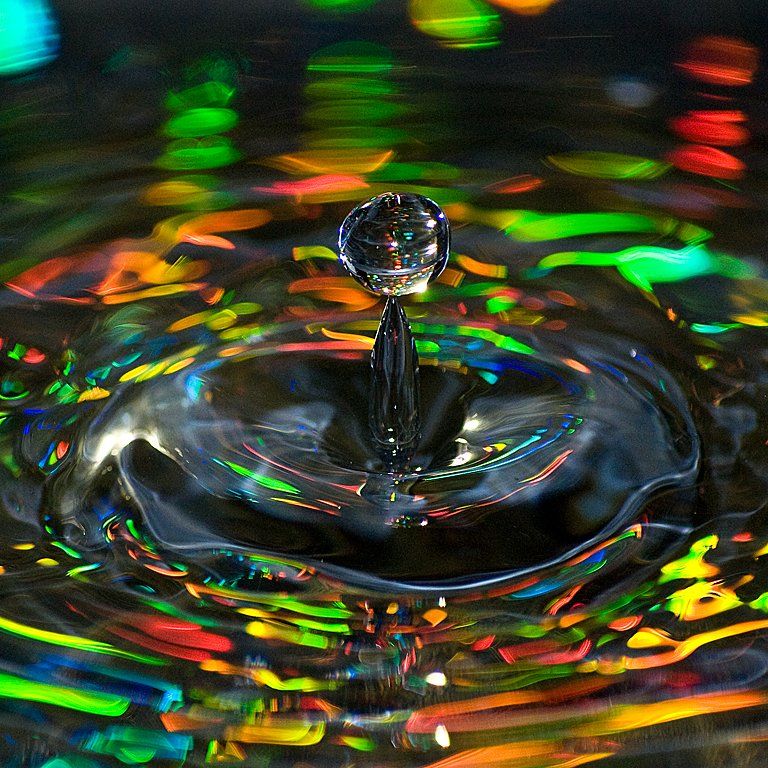
My son Tom and I had our first attempt at water drop photography on late winter afternoon 10 years ago. We suspended a pipette of water (taped to a 2nd tripod) above a paint-roller tray of clear water. We used a pencil to focus the camera on the centre drop area in the tray. This was all done manually so timing was crucial. Count off 1,2, 3 squeeze pippette, count 4 - click the remote! We took hundreds of shots just testing, trying out lighting ideas, focussing, timing the drops.
When we were finally happy with the set-up we filled umpteen memory cards with failed attempts until we eventually got a handful of shots we were happy with. This is the best of the batch. To achieve the rainbow colours, we bounced light from two off-camera flash units on to sheets of holographic card on to the water. It was all very hit and miss, I lost count of the number of attempts Exhausting but fantastically satisfying when we finally got ‘The Shot’.
Equipment used: Black, paint-roller tray holding clear tap water
Hologram patterned card
Plastic pipette (from Tom’s Chemistry set!)
LED torches and off-camera flash unit
Camera: Nikon D300 Nikkor AF50mm 1.8 1/250 f8.
Tripod
Cable release
Pencil
Minimal editing in Adobe Photoshop
Note: There are now computer/laser triggered timer kits available that make it much easier to achieve amazing water-drop photography.
Drinks with Bridget Riley!
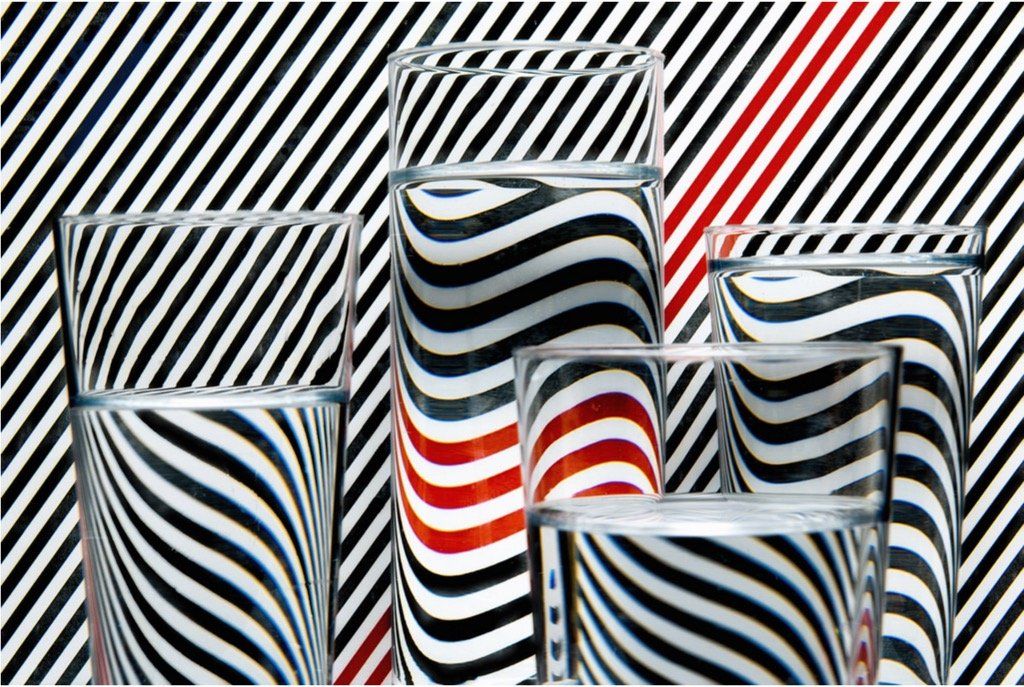
This was a shot from an AWPS table-top workshop. Glasses and tumblers filled with clear water placed against a stripy paper background. Lit with LED lights placed left and right. The patterns are distorted as light refracts through the water and glass. A PDF of various coloured dit and line patterns can be downloaded from the Resources links below.
Camera club beach trip
I set this up in my back garden. Our first car was a 2CV like this but it was grey and much bigger! The 'sea' was added later in Photoshop using an old ‘Flood’ filter by Imagenomic. I’d like to thank the models - two Subbuteo press photographers and legendary England football supporter Ken Baily - very rare and collectable!

